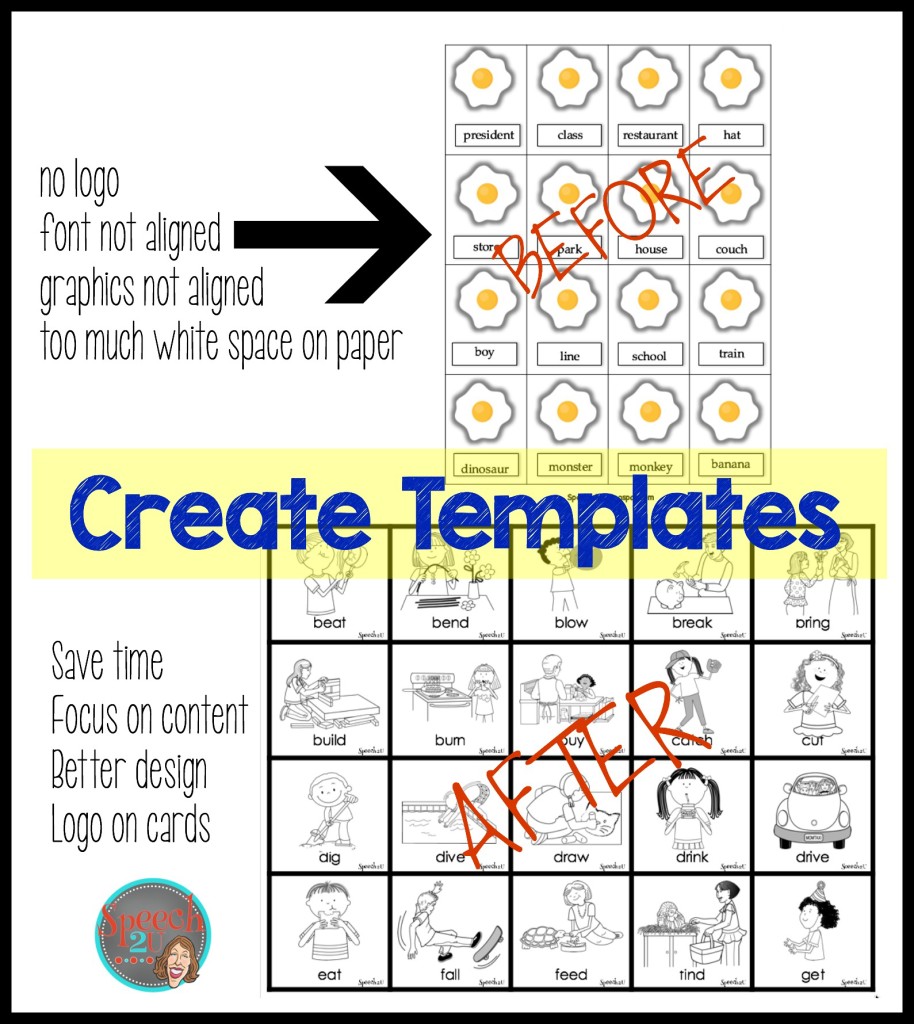
Today I am going to show you how to create a template for your products in PowerPoint for Mac. For about the first two years I was making products, I created a new card deck each time I opened a product. It took a LONG time to create products because I was focused on aligning the text each time, getting the graphics in the correct spot. It’s difficult to see in this picture, but I also had all of this extra white space around my page, which felt like wasted space.

I finally figured out how to create templates using tables in Power Point.

It has been so fantastic, because it allows me to utilize the time I was spending formatting (often 30-40 hours per product or MORE) creating better content including answer keys and definition sheets.
This tutorial will teach you:
- How to change the page size on power point slides
- How to create templates for products in 20 minutes or less
- How to quickly add your store name to your cards
- How to create an overlay table for text in power point
- How to use templates in new products
Create Templates in PowerPoint Mac
I create one version in Powerpoint that is a landscape view and one that is a portrait view. When I am done creating the products, I save them as Template-landscape, Templates-portrait so that I can easily find and copy the needed template into a new product I am creating.
Setting slide size and creating first table/template
- Open a new presentation.
- Click on Design-slide size to change the size of your slides. I set it to 8.5 X 11.
- At the top, click on Insert and then Table.
- Create the biggest table that you would use for cards. Most of my products have 9-12 cards per page if there is a lot of text on them. If I am creating articulation cards or vocabulary cards, I may make them smaller-20 cards per page-especially for older students and clients. In my Halloween Trick or Treat product I needed very small cards for the candies to fit in the bag.
- Click and drag on the edge of the table to make it almost as big as the slide.
- Check to see if the table bleeds off the page by using print preview and printing a copy of the table. Adjust size as needed.
Creating Overlay Table
- Right click on table, copy table and paste.
- Drag 2nd table to it is on top of the first table.
- Click/select table and click on Table Design at the top
- Select the table without grid lines
Aligning Font for logo and content
- Click inside the table box to add your text.
- Change font and size as needed. For logos, I usually use 8 point font.
- For logo, click on align font and select bottom. Click on the align right box. Copy and paste your logo into other boxes on the table
- For content, click on the table without gridlines. Decide if you want to align left or center based on the amount of content. Click on align font and select bottom. In the align font box, select “align text options.” Now you can adjust your bottom margins to make your text fit. I often use .3 on the bottom margin when creating card decks. You will need to adjust based on the amount of text you are adding to your product.
That is how I have saved time by creating templates with overlays using tables in PP. I hope you found this tutorial useful. Ready to start selling? You can sign up using my referral link below. Clicking on this link lets TPT know who referred you. I will get a bonus for this which helps with the cost of creating and maintaining this blog. They do this at no cost to new sellers.


This is a fantastic tutorial. Thank you for sharing these time-saving tips. Now I can more easily put my attention where it needs to go.