One of my most popular posts from last year was about creating your own speech and language binder. I love using binders to organize my papers and activities. I keep resources, worksheets, goal ideas etc. in my binders. You can read more about my organizational system HERE.
As part of that post, I gave away free spine labels for binders. If you missed it, click on the picture below to get your copy.
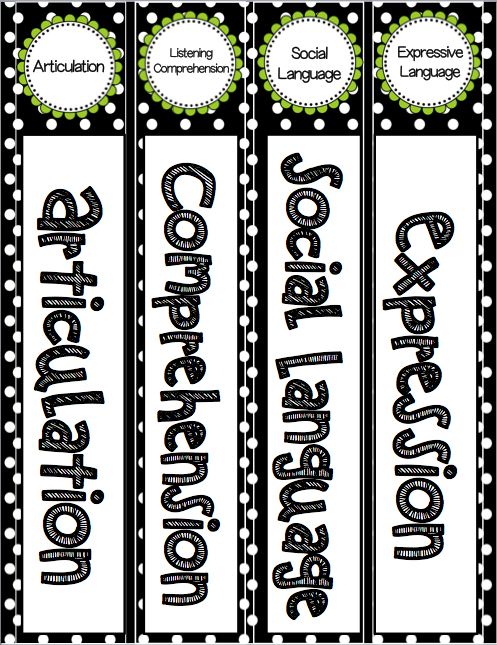
I had a lot of positive feedback from this post, along with requests for me to create an editable version. You will need power point to edit the labels. It’s pretty easy:
1. Download and install the following fonts:
Not sure how to install fonts on your computer? These tutorials will make it simple:
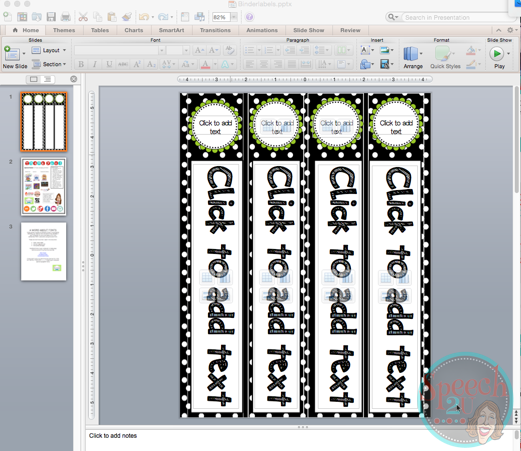
2. Open binder labels in Powerpoint:
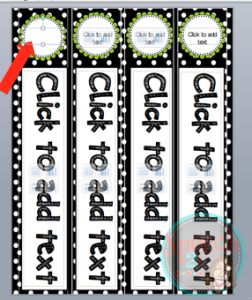
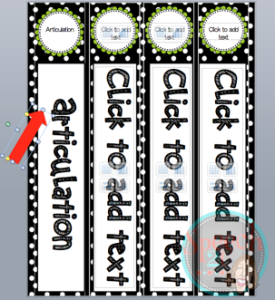
Just click on the text box and start typing.
There are 4 binder labels per sheet. Print as many as you would like.
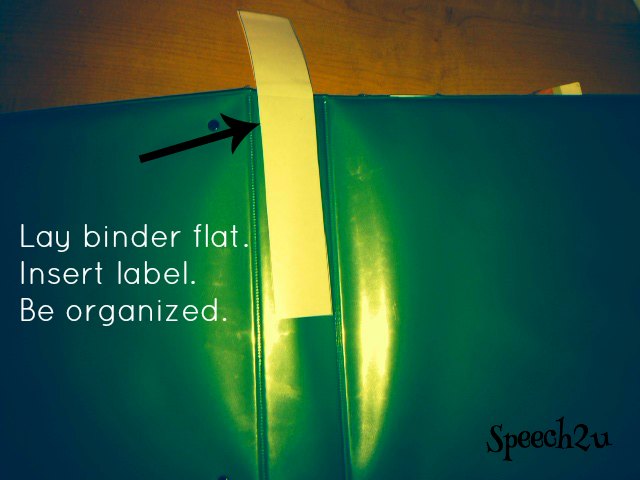
3. Insert Speech and Language binder labels.
That’s it! I like to get the same colored binder to make it look neat on my shelves. I hope you enjoyed this tutorial for making your own speech and language binder labels. You can pick up your editable file by clicking HERE. What do you put in-or what would you put in your speech binders to keep you organized? I’d love to hear your suggestions below!
Hey-don’t forget to share this post with your friends on Pinterest-everyone likes a good freebie!

