Hi! I’m Kelly from Speech2u.blogspot. I’m really excited to be participating in the dabblingspeechie’s Wise Wallet Wednesdays. I know I’m always looking for a way to stretch those budget dollars (when I have a budget, that is.) If you are lucky enough to get a budget and get materials, I’m going to show you a few ways you can use your packing materials in therapy.
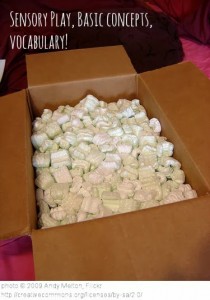
1. Packing Peanuts: I simultaneously love and hate packing peanuts. They are SO much fun to play in and they are SO HARD to clean up. You could probably design a fantastic common core aligned activity related to static electricity.
If you get a big box, you can throw your little ones in it and work on concepts like: in, out, up, down and under. I will take my box of vocabulary or articulation objects and hide them in the box. We can work on naming while they take the objects out of the box. Sometimes we work on blowing the styrofoam off of our hands or lay on our backs and see if we can blow the peanuts up in the air.
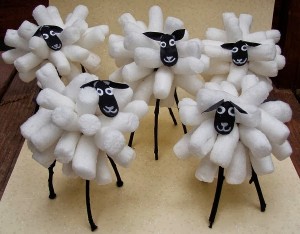
If you are a crafty type, there are a ton of craft of Craft Ideas for using packing peanuts on Pinterest. You can glue them onto a snowman or I love this sheep craft idea from Mommy Doodles:
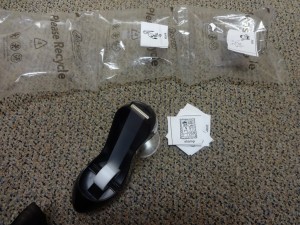
2. Air Pillows: Air pillows seem to be replacing the packing peanuts. I think the warning labels say that these are not toys for children-but in the care of a responsible Speech Language Pathologist they can be a lot of fun.
You can separate them and put them on the floor and have a blowing race from one end of the room to the other. Adding a “card deck” or “worksheet” station at each end of the room prevents this from becoming a completely pointless activity. Also, you don’t want to do this with kids who spit when they blow. It’s more of them than you would think.
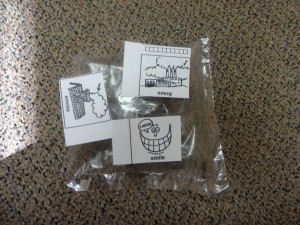
I like to cut out pictures for articulation practice and then tape them on the bags. We practice our sounds a certain number of times (like 10) and then they can try to jump or step on the bags to pop them. You need to hold onto the kids hands when they do this because some of them are tricky to pop-and they are slippery. No need for anyone to break a leg in speech therapy.
And yes, I have a high heeled tape dispenser.
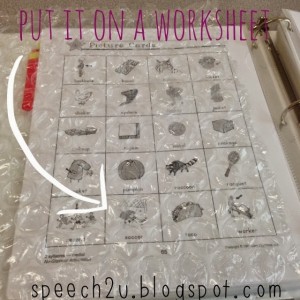
3. Traditional Bubble Wrap. This stuff can be addicting. It’s fun to just lay a big roll of it on the floor and have Pre-K kids walk across it to hear the “popping noises.” I also use this one with worksheets:
This is a Super Easy one-Just place the Bubble wrap on top of the worksheet. Students say a row of words and then pop the bubbles on that row.
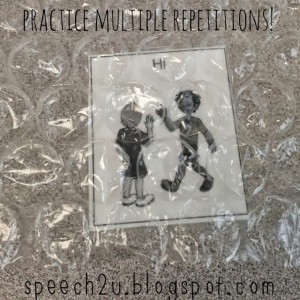
Sometimes I just place larger picture cards under the bubble wrap. For this activity, we were practicing CV combinations-the client had to say the CV word the same number of times as the bubbles on the card. This would work great with Super Duper cards as well.
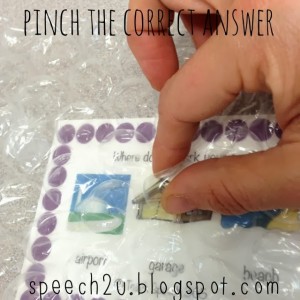
It’s also a fun way to work on multiple choice questions by pinching the correct answer! For this activity I used Teach Speech’s Who, What, where, and When Questions with Visuals product.
Those are a few of the ways that I have used packing materials in my therapy room. Do you have other ideas for how to use packing materials? I’d love to hear from you here:
Or you can link up your own ideas on how you use packing materials on Instagram:
#wisewalletwednesdays



Awesome idea to “pinch” the answers! I’ll have to try that – thanks for mentioning my product!
Awesome post.